The parts that I ordered to finish up the turn signal install were supposed to be delivered today. I didn’t want to waste half a day of good weather waiting on the mail lady, so I decided to make a new headlight wiring harness.
I started off by marking (on masking tape) all of the wires whose number tags I could read.
I had to scrape paint off of most of them, but still couldn’t read a few. Then I disconnected and removed the main harness.
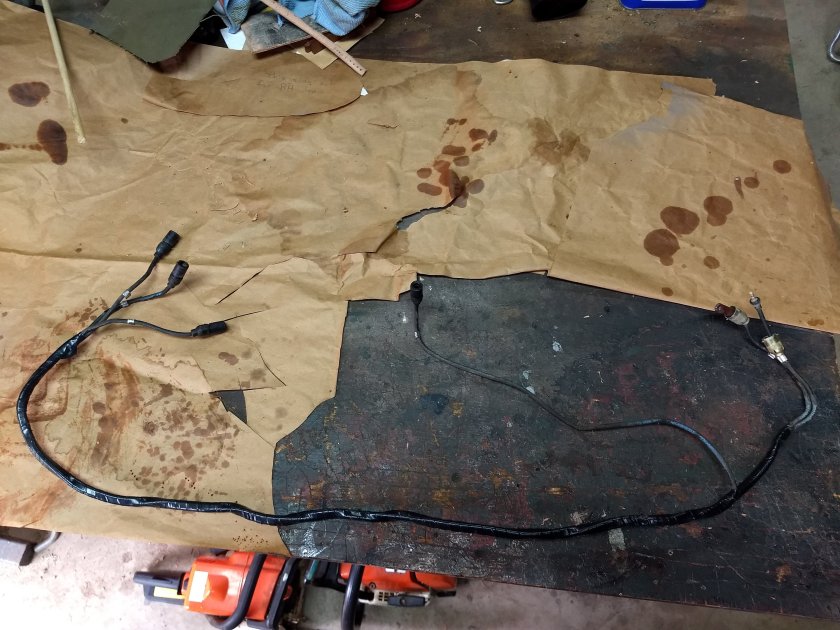
I looked through all of my new wire segments that I pulled from the M35a2 harness and found one that was the EXACT measurement I needed (100 1/2″) and had a male shell on each end. I cut it in half to make the 2 headlight wires. Next, I found another wire with a male shell that was 65″ long and cut it to 56″ for the right B.O marker light (now right turn signal). Then I taped them together with wiring harness tape. I couldn’t install the ends on the other side until the mail came with my new ends.
Next, I pulled the right headlight out to replace the Douglas connectors on the headlight pigtails. I say “pigtails” because I am using more readily available headlights with a 3 prong plug instead of the wires being attached to the bulb itself. I already had 3 pigtails with female shells, so I used butt connectors and shrink tubing to connect them to the 3 prong plug. I also removed the ground wire from the right headlight and fabbed a new one. Sorry, I didn’t take pics of this.
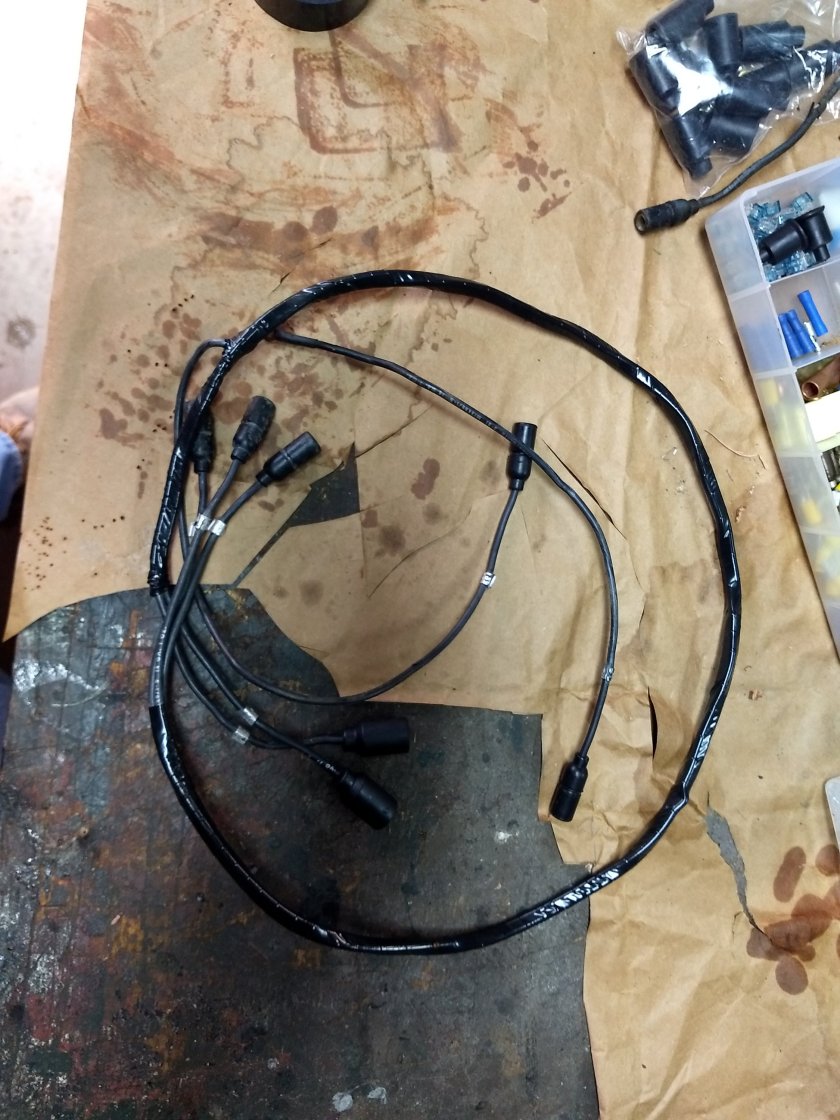
My new parts and connectors showed up, so I was able to finish up all of the new wiring with the rest of the male and female ends. I installed a male shell for the right B.O. light (turn signal) to finish up the main headlight harness. I cleaned up some of the old number tags and used some new ones from the new wires.
On the driver side headlight, the wires go directly from the main wiring harness (single to double “Y”s) to the headlight housing. These wires were 25″ long measured from end to end of the connectors. I found a couple of wires with ends already attached and just added female shells to the other ends. I also made a new ground wire.
When installing the new female shells (male ends), I strip the insulation back 1/4″ and flux the wire. Then I cut 1/4” piece of solder and drop it in the wire end hole. Holding the male end with pliers, I hold it over a propane torch until the solder melts, then stick the wire into the end. Hold it until it cools, then you’re ready to go! For the male shells, you can either crimp it or flux the wire, hold the end with pliers over the torch and solder the wire into the end. Nope – didn’t take any pics of this process either!
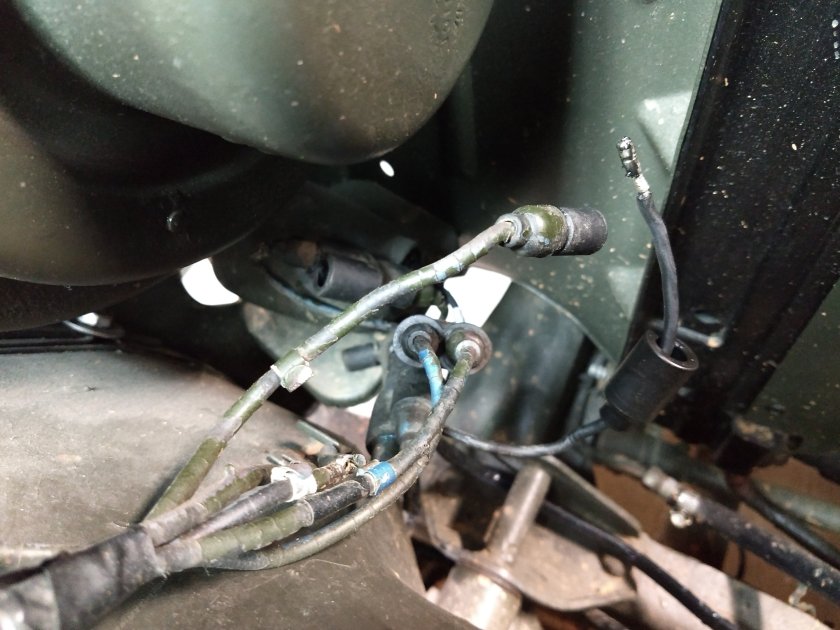
After all of the ends were on, I installed the main harness starting at the right headlight. I attached the headlight pigtail to the harness and clamped the connectors in the headlight bucket. Then I installed the new ground wire and ran all of the wires through the 3 hole grommet. I plugged in the B.O. light wire. I found that a drop of silicon on the male ends makes install/removal MUCH easier!
Then I could route the harness through the clips on the grill to the left headlight. I plugged the male ends into the “Y’s under the left headlight and the female B.O. light wire. I connected the left headlight bulb to the new wires, clamped them into the headlight bucket and ran them through the grommet out to the main harness “Y”s and connected them. I taped up a 6” section of these 3 wires to make it look a little better.
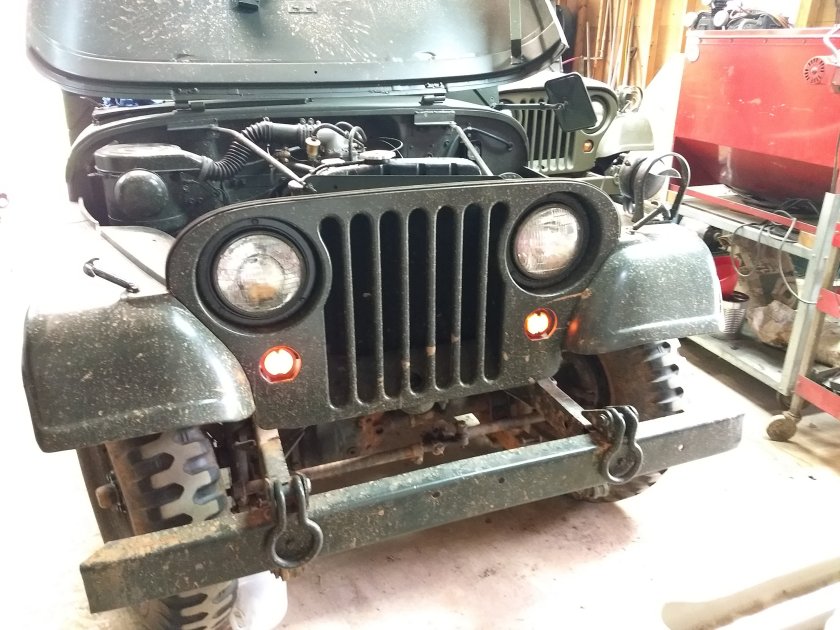
I think it turned out alright, and ready for another 55yrs of service! PLUS it’s MUCH safer!
Next, I got into the rest of my new parts.
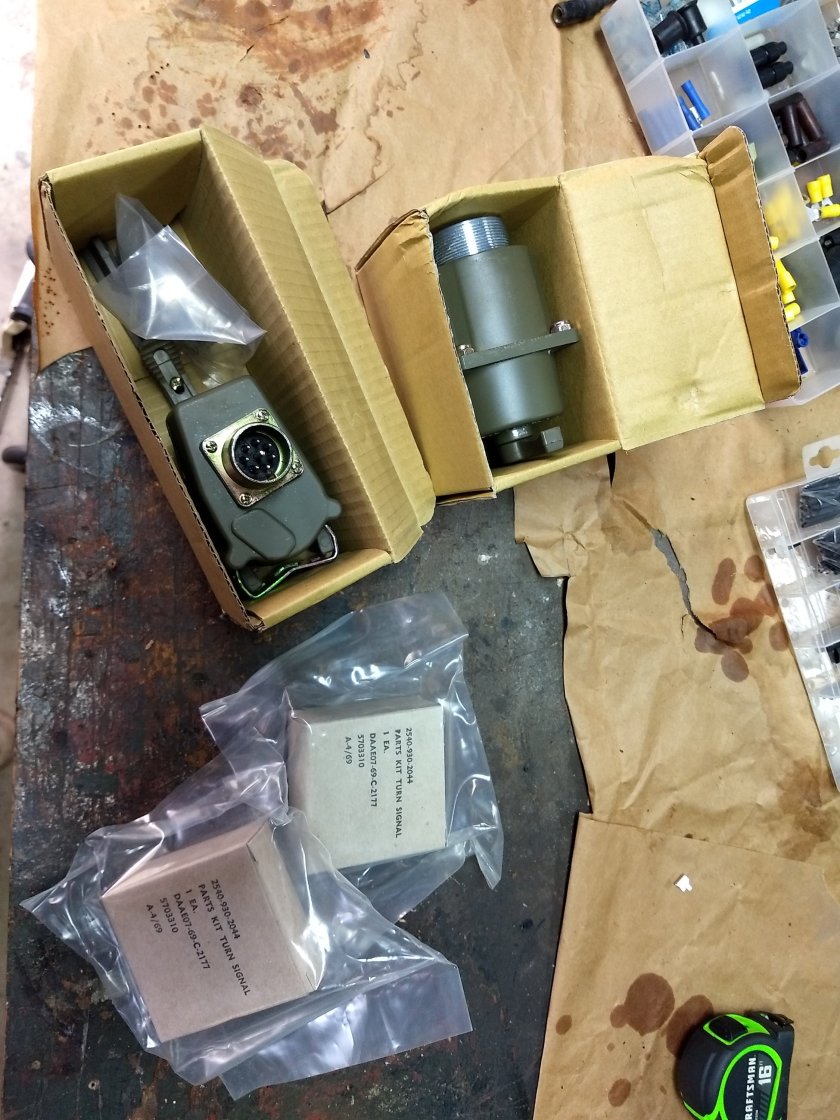
The orange turn signal kits came from Saturn Surplus (off eBay).
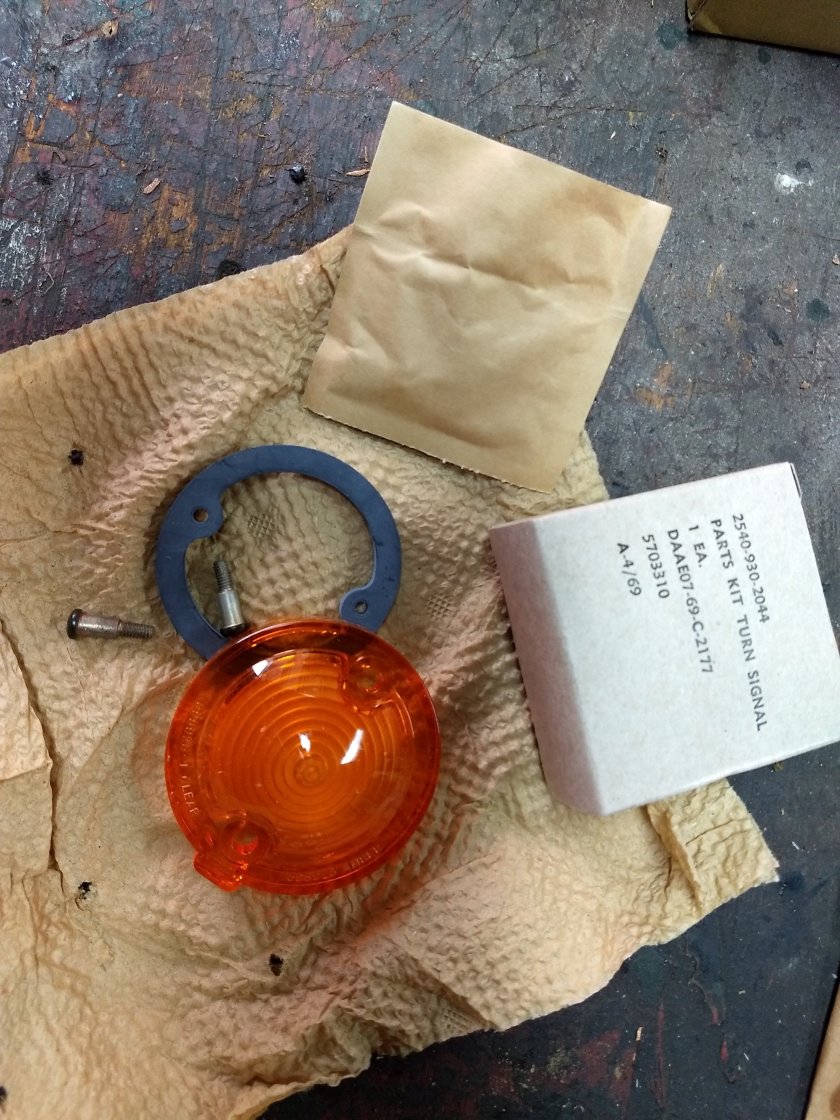
They were easy enough to install – no writeup needed:
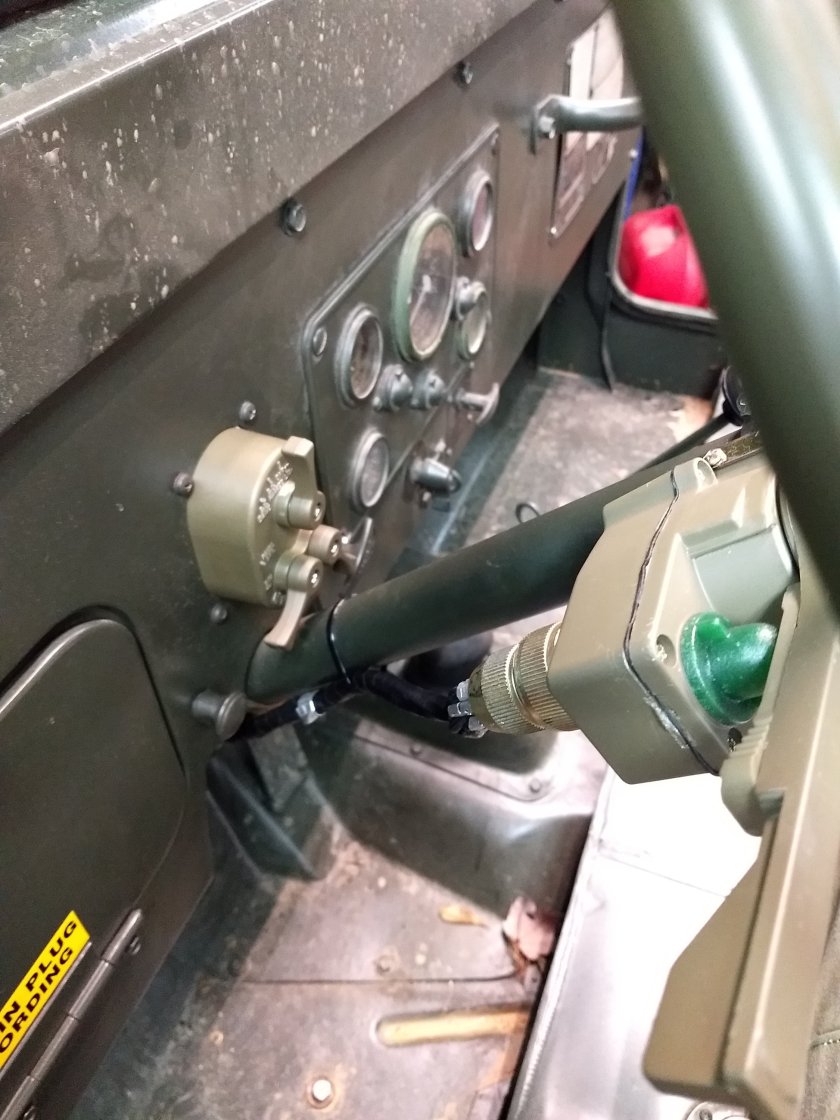
The turn signal and headlight switches came from Big Mikes Motor Pool. I’m pretty sure they are Chinese repops judging from the packaging and absence of markings. Despite that fact, once installed, they work fine with the turn signal switch being pretty tight and has a distinct notchy feel compared to the worn out original one I have on my other Jeep.
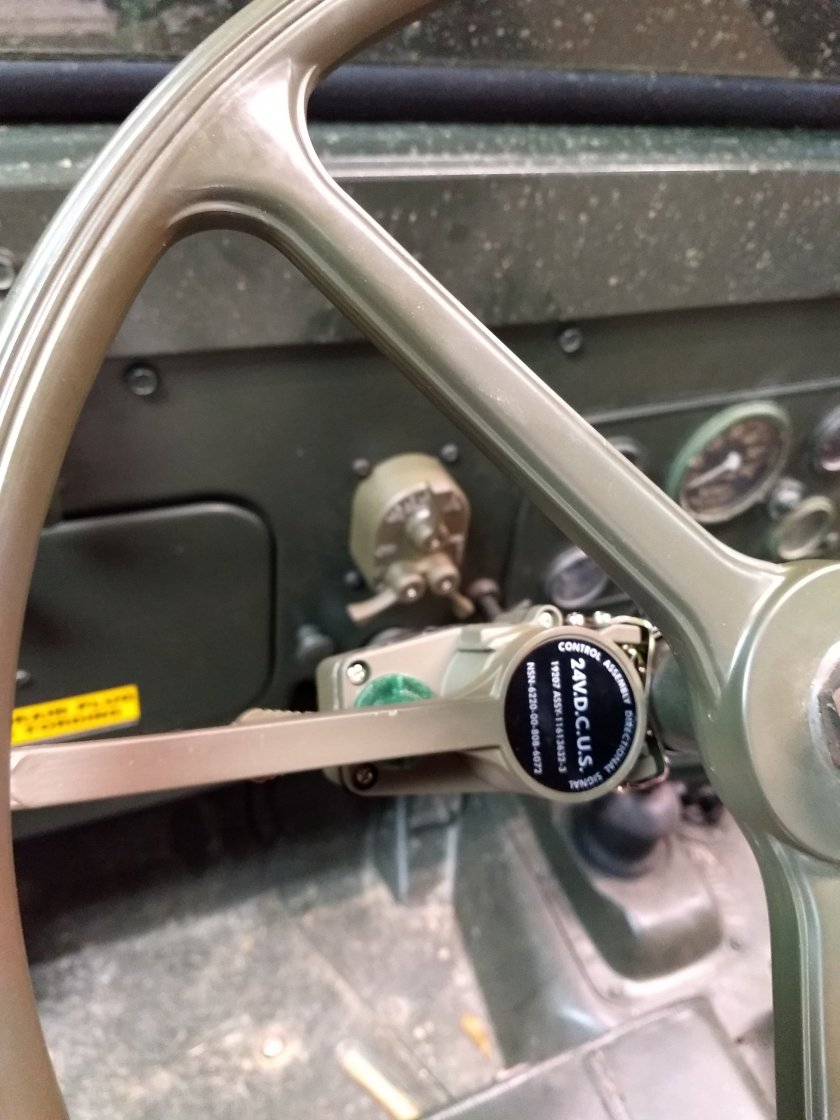
I left them in their original paint for a couple of reasons: 1) I wanted it to LOOK like turn signals were added after the Jeep was in service and 2) I didn’t feel like painting them! Tell me what you think in a comment – should I leave them as is or paint them?
As far as wiring goes, I still want to make a new regulator harness. This is one of the main harnesses that cause fires (because it carries the high power from the regulator). I might do that the next time I’m off because I still have PLENTY of wire and now have a bunch of new ends. I will look around to see what else needs to be rewired as I go.
